


A system that is low on refrigerant has a leak. Refrigerant is not used up like fuel, so adding more without finding the leak only postpones the same call. Good refrigerant leak detection is a process: confirm the system is actually low, narrow down where the leak is likely to be, pinpoint it, repair it and prove the repair. This guide compares the common methods and when to use each.
First, confirm that the system is low
Low airflow, a dirty coil, a restriction or a failed metering device can all look like a low charge. Before you hunt for a leak, measure superheat and subcooling and check airflow. Our guide to superheat and subcooling explains how to read them, and temperature split covers the airflow side.
Start with your eyes
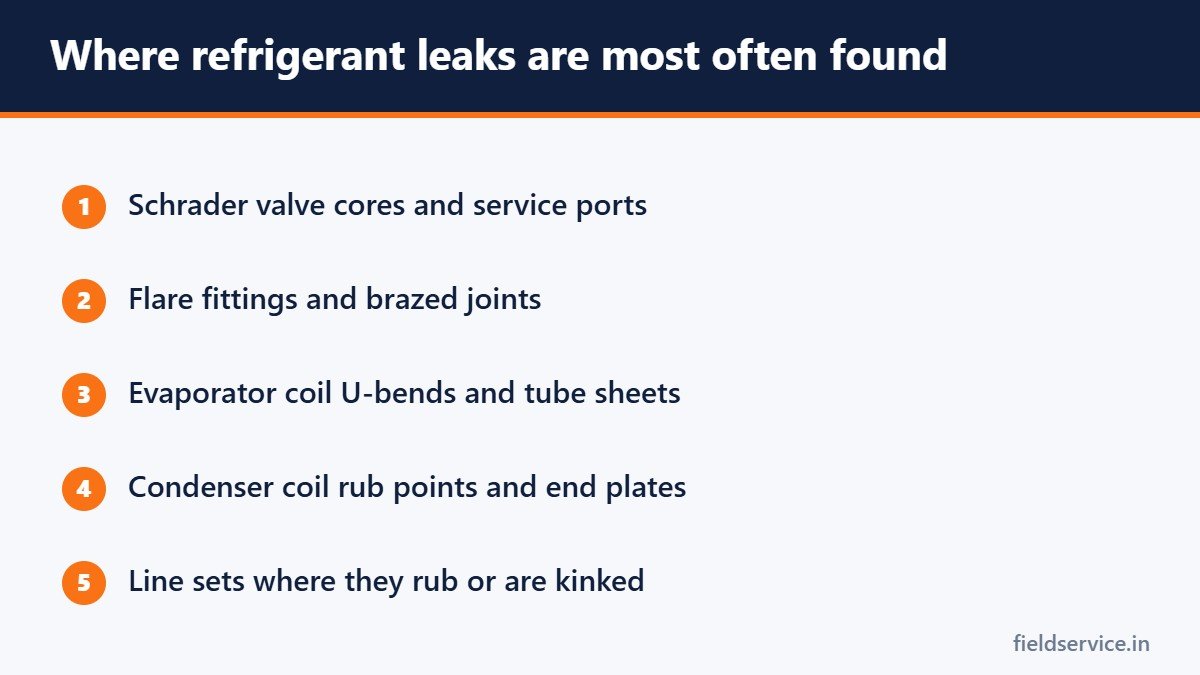
Refrigerant carries oil with it. Where refrigerant escapes, oil often leaves a stain that collects dust. Look for oily or dirty patches at:
- Service valves and Schrader cores, including the caps.
- Flare fittings and brazed joints.
- The evaporator coil, especially the U-bends and tube sheets.
- The condenser coil, where tubes pass through the end plates and where vibration rubs lines together.
- The line set, wherever it touches metal, passes through a wall or has been kinked.
- The compressor terminals and the accumulator or filter drier connections.
Methods compared
| Method | Best for | Limits |
|---|---|---|
| Soap bubble solution | Pinpointing a leak at a joint or valve you can reach | Slow on large areas; misses very small leaks and hidden spots |
| Electronic leak detector | Searching coils and lines quickly; small leaks | Wind disperses refrigerant; some sensors react to other chemicals |
| Ultrasonic detector | Noisy or windy sites; pressurized systems | Needs enough pressure to make sound; struggles with tiny leaks |
| UV dye | Intermittent leaks that other methods miss | Takes time to circulate; check that the manufacturer allows it |
| Nitrogen pressure test | Proving a system is tight after a repair; finding leaks in an empty system | Requires recovering the charge first; takes time |
Soap bubble solution
A purpose-made bubble solution is cheap and reliable for confirming a leak at a specific point. Apply it generously and wait; a small leak may take a minute to form a cluster of fine bubbles. Use it to confirm what an electronic detector finds.
Electronic leak detectors
Electronic detectors are the fastest way to search a coil or line set. The two common sensor types are heated diode and infrared. Infrared sensors generally last longer and are less prone to false alarms from other vapors. Whichever you use:
- Move the probe slowly, about an inch per second, and keep it close to the surface.
- Check underneath joints and coils. Most refrigerants are heavier than air and sink.
- Shield the area from wind, or turn off the fan while you search.
- Check the sensor and filter regularly, and test the detector against a reference leak.
- Make sure the detector is rated for the refrigerant in the system, including the newer A2L refrigerants such as R-32 and R-454B.
Ultrasonic detectors
These listen for the high-frequency sound of gas escaping through a small hole. They do not depend on the type of gas, so they work with nitrogen during a pressure test, and wind does not carry the signal away.
UV dye
Dye is added to the system and circulates with the oil. After the system has run, a UV lamp shows the dye at the leak point. It is useful for leaks that only appear under certain conditions. Use only dyes approved by the equipment manufacturer, and use the correct amount.
Nitrogen pressure testing
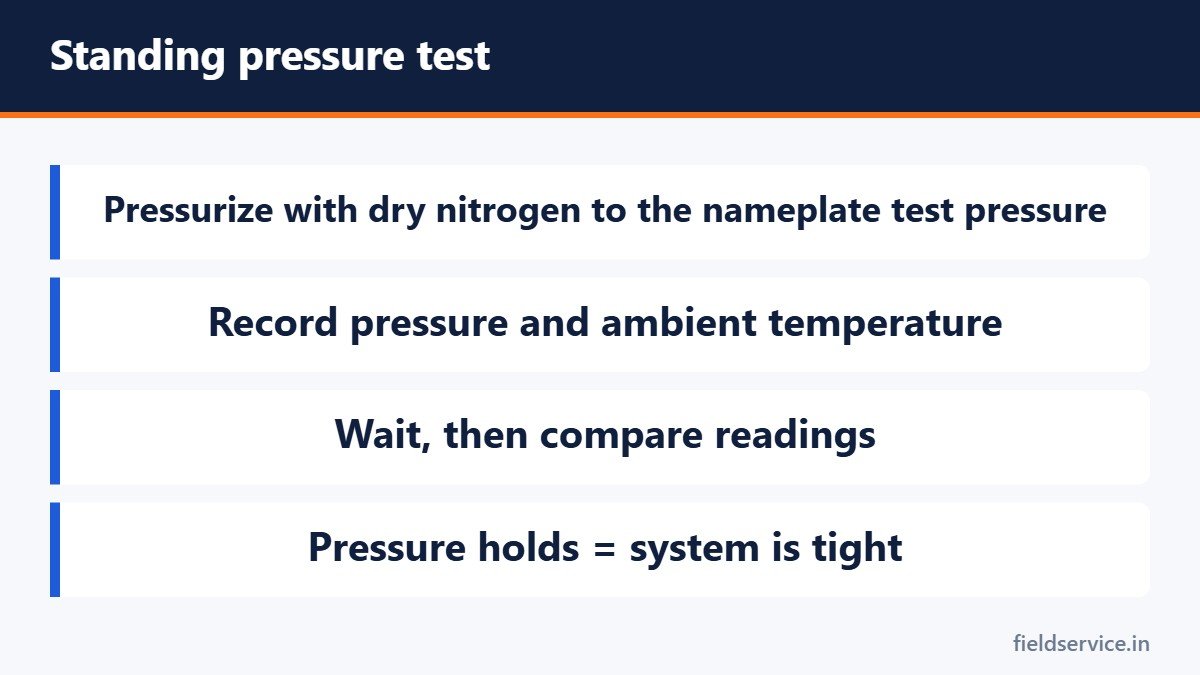
A standing pressure test is the standard way to prove a system is tight. After recovering the refrigerant, pressurize the system with dry nitrogen, record the pressure and the ambient temperature, and wait. A pressure that holds, after allowing for temperature change, means no leak large enough to show in that time.
- Use dry nitrogen only. Never pressurize a system with oxygen or compressed air; oxygen and refrigerant oil can explode.
- Always use a pressure regulator on the nitrogen cylinder.
- Do not exceed the test pressure on the equipment nameplate or in the manufacturer’s instructions.
- Isolate components that cannot take the test pressure.
- Use soap solution or an ultrasonic detector on the pressurized system to find the leak point.
After the repair
- Repeat the pressure test to prove the repair.
- Replace the filter drier if the system was open.
- Evacuate to the manufacturer’s vacuum level and confirm it holds.
- Charge by weight or by the manufacturer’s charging method.
- Record the leak location, the repair, and the amount of refrigerant recovered and added.
Refrigerant rules to remember
Under Section 608 of the Clean Air Act, it is illegal to knowingly vent refrigerant during service, and technicians who work on refrigerant circuits must be certified. See EPA 608 certification explained. The Environmental Protection Agency also sets leak repair and record-keeping requirements for larger appliances. The thresholds have changed over time, so check the current EPA guidance for the equipment you service. For the wider picture on refrigerant changes, see the R-410A rule changes.
Topping up a leaking system without repairing it is also poor business. The customer pays again, and the callback lands on you. See the cost of callbacks.
Related guides
Sources
- U.S. Environmental Protection Agency: Section 608 refrigerant management
- U.S. Environmental Protection Agency: Stationary refrigeration leak repair requirements
Six everyday forms in Word and PDF, plus Excel workbooks that total mileage reimbursement and overtime pay.
Not sure yet? Try two forms free or see all packs.
Frequently asked questions
What is the most accurate way to find a refrigerant leak?
No single method is best in every case. Most technicians search with an electronic detector, confirm the exact point with bubble solution, and prove the repair with a nitrogen pressure test.
Can I just add refrigerant to a leaking system?
Adding refrigerant without repairing the leak does not fix the problem and the charge will be lost again. For larger appliances, EPA rules require leaks above set rates to be repaired.
Why should I never use compressed air to pressure test?
Compressed air contains oxygen and moisture. Oxygen mixed with refrigerant oil under pressure can ignite or explode, and moisture contaminates the system. Use dry nitrogen with a regulator.
Do electronic leak detectors work with A2L refrigerants?
Only if the detector is rated for them. Check that your detector lists the refrigerant in the system, such as R-32 or R-454B.
How long should a nitrogen pressure test last?
Follow the equipment manufacturer and your company procedure. Longer tests find smaller leaks. Record the temperature as well as the pressure, because nitrogen pressure changes with temperature.
This article is general information for trained and certified technicians. It does not replace manufacturer instructions, EPA regulations or your employer’s procedures.